/prod01/fit-cdn-pxl/media/fit-website/site-assets/images/FT-Horiz_crimson-gold.png)
/prod01/fit-cdn-pxl/media/site-specific/wwwfitedu/copy/images/copy-center-header.jpg)
Staff and Faculty - SharePoint Information Page

Learn to use our Digital Store Front and about Printing on Campus
We have an assortment of tutorials and articles to help guide you through printing techniques and internal policies! Learn to navigate the Digital Store Front and know about important information such as printing on your department convenience copier. There is also information on the use of print drivers and our print management system, uniFlow.
- How to submit Business Cards
- How to submit Documents for Printing
- Ordering Copier Supplies such as toner
All you need to know for great prints!
Want to achieve a professional looking print? Know ahead what you are trying to accomplish and the best method to implement your idea. These helpful tips will get you started.
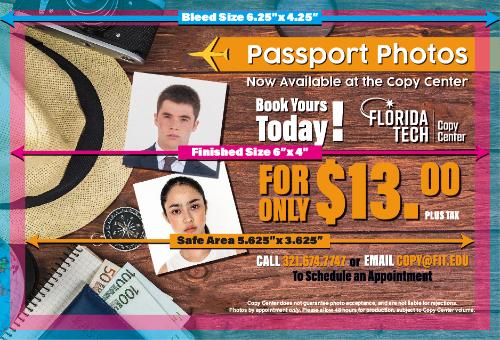
Size, Bleeds, and Margins
Whenever possible, design to size. Whether you intend to print a banner or a postcard, always make sure your document is the same size as your intended output.
For example, if you are designing a 6” x 4” postcard make sure your document is 6” wide and 4” tall. If you want the colors to run to the edge of the paper, known as “bleed”, you need to add an extra 1/8” to all four sides. So, in the earlier example of the postcard your file size would now be 6.25” x 4.25”, with the excess being cut off during the finishing process. When designing, whether your document has a bleed or not, be sure to keep any text or design elements that you do not want cut at least 3/16” away from the finished edges of your project. Again, using or example of a 6” x 4” postcard, you would want to keep all important information within an area of 5.625” wide x 3.625” tall.
If you are working on a booklet, you should also design it based on the finished size of the booklet. If you want your booklet to be a half page size your document size should be 5.5” wide x 8.5” tall. Please remember when designing your booklet your page count should be divisible by four. If your page count is not divisible by four you will have blank pages in your finished project. Typically we add the blank pages to the inside covers and back cover first (as long as it makes sense to do so). However, we can add them wherever you like. When you submit your file to print, please give us a PDF with the booklet in the sequential page order sized to the finished size of your book.
Graphics
If your work is going to contain images and other graphic content make sure that it is high quality and does not violate any copyright laws. For best print results always ensure that the photos in your project are at least 300 DPI (dots per inch) and in CMYK. It is always better to use a larger image then scale it down, than to use a small image and scale it upwards. When unavoidable minimize the amount of upscaling as the image is likely to lose detail, have some jagged edges, or appear to be pixelated with rough graduations in tone and poor contrast.

If you are not using your own images there are several websites that host high quality, royalty free images. To search for these types’ images, enter your search followed by CC0 (which stands for Creative Commons Zero), these images are part of the Public Domain and can be used as you see fit. For instance, if you wanted a photo of a red panda your search string would simply be "red panda CC0".
Additionally, you may want to incorporate vector graphics into your design. Vector graphics are resolution independent, meaning you can scale them to whatever size you like without loss of quality. Vector files typically end in the extension .ai, .eps, or .cdr; and can be incorporated into many different design programs. As with photos, you can search for Public Domain vector files by adding CC0 to your search string.
Lastly, when placing and resizing images always ensure you are proportionally scaling them, to avoid squished faces and logos. In most design software this is accomplished by holding shift while you drag the mouse, just be sure to release the mouse button before releasing the shift key.
Preparing Your Files To Print
Regardless of the program you use to design your project, always save your print file as a PDF. PDF files are best because it preserves your file the way you designed it, in the best possible quality. When saving your file to PDF there are usually several options for you to select. It all depends on the software you use, the settings may have different names but are generally called Press Quality or High-Quality print. Additionally, if you designed your project with bleeds you may need to tell it to include the bleeds in the options. However, please do not include crop marks, color bars, registration marks, or any other print markups.
Hard-Copy Prints
If you do not have a digital file, copies can be made using a printed sample otherwise known as a hard copy. When duplicating from hard copy you will likely notice a shift in color and a general reduction in quality. This is an additive effect and the quality will continually decline with each generation. If you intend on reusing the print several times it is best to keep the original as your master to minimize quality degradation. Additionally, copies can be either enlarged or reduced in size but are subject to quality loss as you enlarge. Also remember if your original is printed on a color paper, the color of the paper will affect your copies.