

Workday is a cloud-based ERP solution which provides enhanced accessibility and a more intuitive user experience. Launched on campus in January 2021, Workday is the system of record for Human Resources, Payroll, Grants, and Finance operations.
Frequently used Job Aids are included here.
![]()
Overview
Employees can update their Federal, State, and Local elections directly in Workday. New Hires receive an inbox task as part of Onboarding to make updates. Existing employees can make changes as needed. If an election is not made, the default will still be withheld
View Process
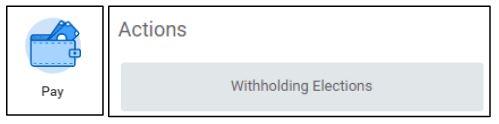
1. Select the Pay Application from the Home Page
2. Select Withholding to View
3. Click through Tabs to view elections for each Type
a. If no election exists, just the Update button will display

4. Click Update button to change elections
a. Confirm Company and Effective Date
b. Click OK
c. Update with new desired withholding information

5. Click OK
6. Process is Complete
Overview
Hourly staff and student employees will be tracking hours worked in Workday
Enter Hours Worked
1. Select the Time application on your homepage
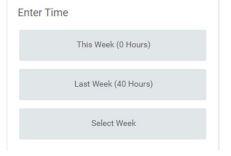
2. Select either This Week or Last Week
3. Click Actions (top-right, near Summary) then select either:
a. Enter Time:
i. Select the days to enter hours worked by clicking through the tabs for each day of the week
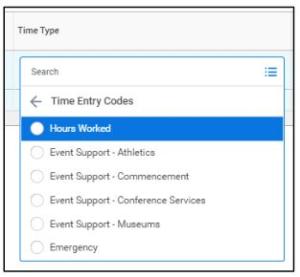
ii. Leave 'Hours Worked' as the default or change the Time Type as needed
iii. Enter the number of hours worked for each day of the current week
b. Enter Time by Type:
i. Select the Time Type as 'Hours Worked' or select another Time Type as needed
ii. Enter the number of hours worked for each day of the current week
4. When you are finished entering hours, click Review, review your time entries, then click Submit
5. Your timesheet will route to your supervisor to approve
Approval Business Process
1. The manager will receive an inbox action item to review and approve the employee’s timesheet
a. If corrections need to be made, the manager can send the timesheet back to the employee
Overview
If you made a mistake or need to make changes to a submitted or approved timesheet, you may do so
Correct Hours Worked
1. Select the Time application on your homepage![]()
2. Select either This Week or Last Week from the Enter Time column
3. Click Actions (top-right, near Summary) then select Enter Time
a. Change the Time Type or change the Hours, as needed
b. To add absence hours on the same day as hours worked, click the add  button and select an Time Type
c. To delete an entry, click the minus  button
d. Click OK when done
4. When you are finished correcting hours, click Review
5. Review your time entries, then click Submit
6. Your edited timesheet will route to your supervisor to review and approve
Approval Business Process
1. The manager will receive an inbox action item to review and approve the employee’s timesheet
a. If corrections need to be made, the manager can send the timesheet back to the employee
Time Verifying hours that were entered on the Time Calendar Verification
Select : Time in applications
![]()
Select: a week to review
Once on the time calendar area, you can:
- Verify the hours entered on the time calendar
- Verify the hours entered by looking at the top calculation bar
- Toggle between weeks by using the arrows on the left
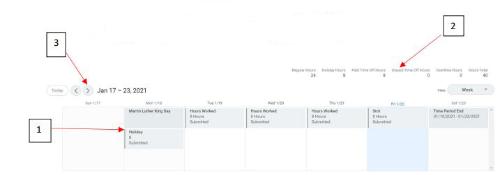
If hours are submitted and NOT APPROVED it will say submitted at the bottom and be grey

If hours are submitted and APPROVED by the approver it will say Approved at the bottom and be green

If it has neither Submitted nor Approved listed, you still need to submit your hours for approval
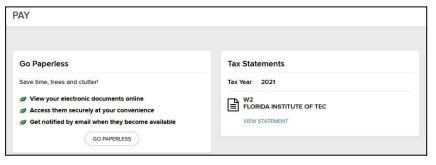
View and Print W-2
Overview
Employees can access their W-2 from ADP using a passthrough link in Workday.
Process
1. Select the Pay Application from the home page
2. Under the new External links section, select ADP - W-2
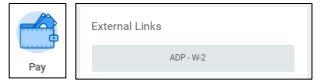
3. This link will take you over to the ADP website and authenticate you automatically
4. You will have the option to view your W-2, as well as elect in paperless documents
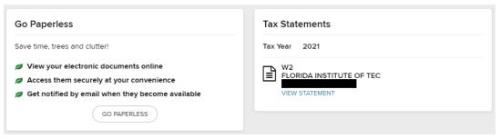
A reminder that W-2s older than 2021 can be requested by contacting hr@fit.edu.
Overview
Former Florida Tech employees can access their W-2 by creating an ADP account.
Process
1. Go to ADP
2. Select the Sign In Button in the upper right
3. My current employer uses ADP
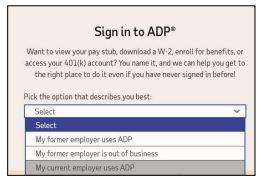
4. Select CREATE ACCOUNT from bottom

5. Select FIND ME button
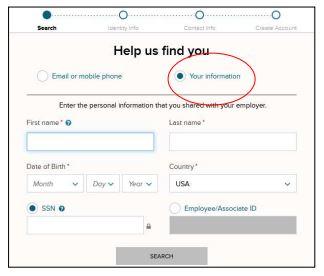
6. Select Your Information radial button
7. Enter identifying information
8. Click SEARCH button
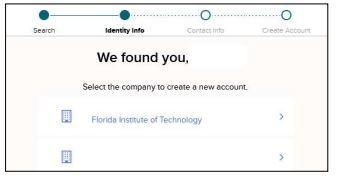
9. Confirm your name
10. Select Florida Institute of Technology company
a. if you have had employers in the past use ADP, these may also appear
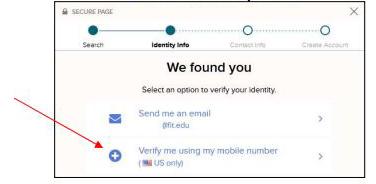
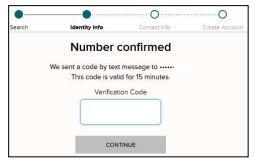
11. Verify Identity using mobile number
a. Terminated employees cannot use their email as the email address associated with the account is typically the @fit.edu email address
12. Enter Verification Code
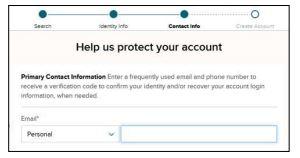
13. Update Contact information if desired
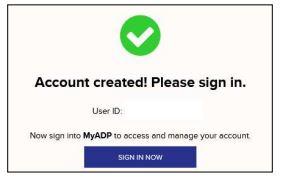
14. New User ID is displayed
15. Create/Confirm a new Password

16. Account creation message displays, SIGN IN NOW to get W-2
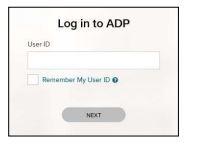
17. Enter User ID and Password
18. Click VIEW STATEMENT to view document
19. Print or Download from button in upper right

Overview
The instructions below are designed to help students access Workday and address common connectivity issues.
Steps
1. To access the features of Workday, a laptop or campus desktop computer is recommended
2. Close all browsers
3. Connect to the secure, campus eduroam Wi-Fi network
a. Open the network icon in the lower right corner of your screen
b. Sign in with TRACKS. Enter your username and password for access to university services
c. Complete the multi-factor authentication
4. Open a new browser and navigate to www.fit.edu
5. From the top navigation menu, click Links For, then access the Students launchpad:

6. Under Resources, select Workday Login
7. This will also prompt you for TRACKS details and multi-factor authentication
8. Once verified, you will be logged into Workday
Helpful Tip
For full system functionality, use of a desktop or laptop connected to eduroam is needed. Tablets, phones, mobile apps, and other networks may have limited access.